Congratulations! You have just bought your first telescope, an ocular time machine that will aid in your cosmos exploration. You might want to find comets someday or publish your Astro-images or just want to take in sights of the moon and planets occasionally.
No matter what your astronomical objectives are, one thing is certain: We all have to start at the very beginning, and this guide will teach you how to use a telescope.

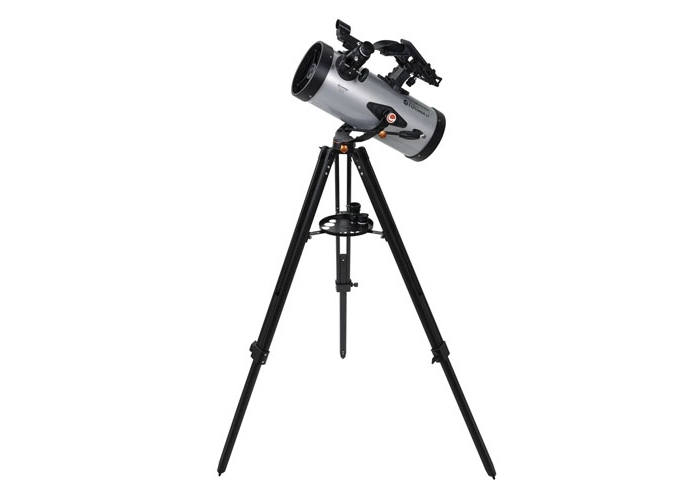
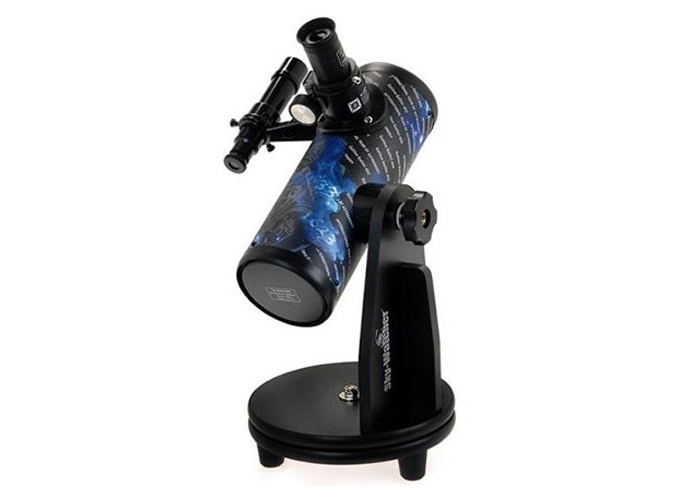
A surprising aspect of the telescope and astronomy experience frequently disregarded that a telescope mount constitutes half of a telescope system. To operate a telescope effectively, it must have a good, sturdy, and stable mount.
Various telescope mounts are available, each with its purposes and benefits; some mentioned below.
After moving your telescope around a bit, it’s time to look at some of the extras that came with it. The most crucial piece of equipment in the package, regardless of the telescope you bought, should be an eyepiece.
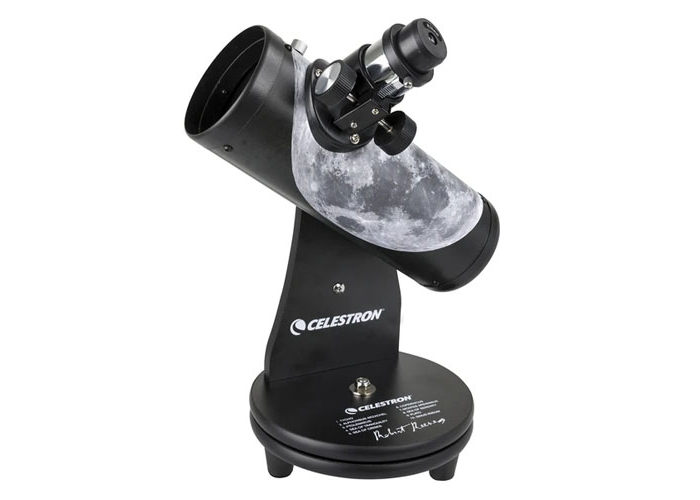
The purpose of a telescope is to collect and focus the light that astronomical objects emanate into a single point. It is the function of an eyepiece to take that focused light and present the resulting image for your enjoyment.
Eyepieces are available in a wide variety of designs, sizes, and focal lengths, just like telescopes.
Finders are a crucial component of telescope accessories since they assist in finding objects, as their name suggests. Even the Moon, which appears to be a no-brainer, can be challenging to observe without a finder.
A “red dot finder” or an “optical finder” is most likely the type of finder your telescope comes with.
A small telescope called an optical finder is attached to the top of the primary telescope by a finder bracket. When looking through the eyepiece, you will see a crosshair to assist you in centering the item in the finder’s field of view. It provides a low magnification view of the sky, typically ranging from 6X to 10X.
Most optical finders can be focused by rotating the eyepiece itself or a focusing ring that encircles the barrel’s diameter.
A red dot finder presents a broad field, zero magnification image of the sky. The user views a red dot, or in specific designs, a bull’s eye, projected onto a glass or plastic screen rather than through an eyepiece. Both the brightness and the location of this lit point on the screen are movable.
Typically, Red Dot Finders are mounted to a telescope using a raised bracket. The enhanced height allows the user to see through the finder more easily.
Every telescope has a focuser, and whether it is your telescope or someone else’s, you should always focus the image to make it appear as sharp as possible when you approach the eyepiece.
Focusing is the first step you should take after inserting an eyepiece into a focuser or diagonal since you will miss small details with an out-of-focus image. Being focused might be challenging at times. The best approach to focusing in this situation is to gradually move the focuser up to the sweet spot until you feel that you have just passed it.
If you are having trouble focusing, the telescope’s viewing conditions are preventing you from seeing at a magnification that the image can support. When this occurs, switching to less powerful eyeglasses is the best course of action.
Change eyepieces or add a Barlow when ready to examine an object at a higher or lower magnification. Take a moment to center the item in the field of view before putting down the eyepiece you’re using.
Once the thumbscrew holding the eyepiece in place has been carefully released, slide the old eyepiece out and replace it. Tighten the thumbscrew firmly to prevent your eyepiece from coming out when you move the telescope.
Refocusing on the new eyepiece could be necessary. The majority of amateur astronomers have access to many eyepieces. You can match the magnification or field of view to the item and adapt this magnification to the quality of the evening’s visibility with additional eyepieces.
To see more stars, you first need dark skies far from city lights. If you live in Sydney, we have a compiled a list of the best stargazing spots in Sydney.
If you want to be able to see the Milky Way, this is especially true. Only the brightest stars and planets are luminous enough to be seen in light-polluted metropolitan skies, and there are more dim stars than bright ones in the sky.
Mountain ranges might help to obscure light if you live close to them. Having a mountain range between you and the city can be really helpful. A different option is to cross a vast wilderness region or body of water.
The most important thing is to move away from populated areas, but other things might improve your stargazing. Being higher helps because you’ll be above low-level clouds of dense air that block your view of the stars with hazes, fog, and smoke.
Additionally, you don’t have to choose areas very far from highways or roads. You can locate decent sites relatively close to busy highways, provided there aren’t many bright lights nearby.